Building a Product
Software products, services, documentation, lesson plans, physical products; building them require similar thought processes and trial and error learning.

It all begins with at least some kind of idea, vision, maybe something as good as an actual architectural document. We work hard to come up with a plan and try to keep the unknowns small.
To do all of that we need tools, software modules, build and deployment, CI pipeline, 3rd party services, 3rd party interfaces to services, testing, security(safety).
And we need procedures, planning, some basis for setting expectations. Good god, I think I need to lay down now!
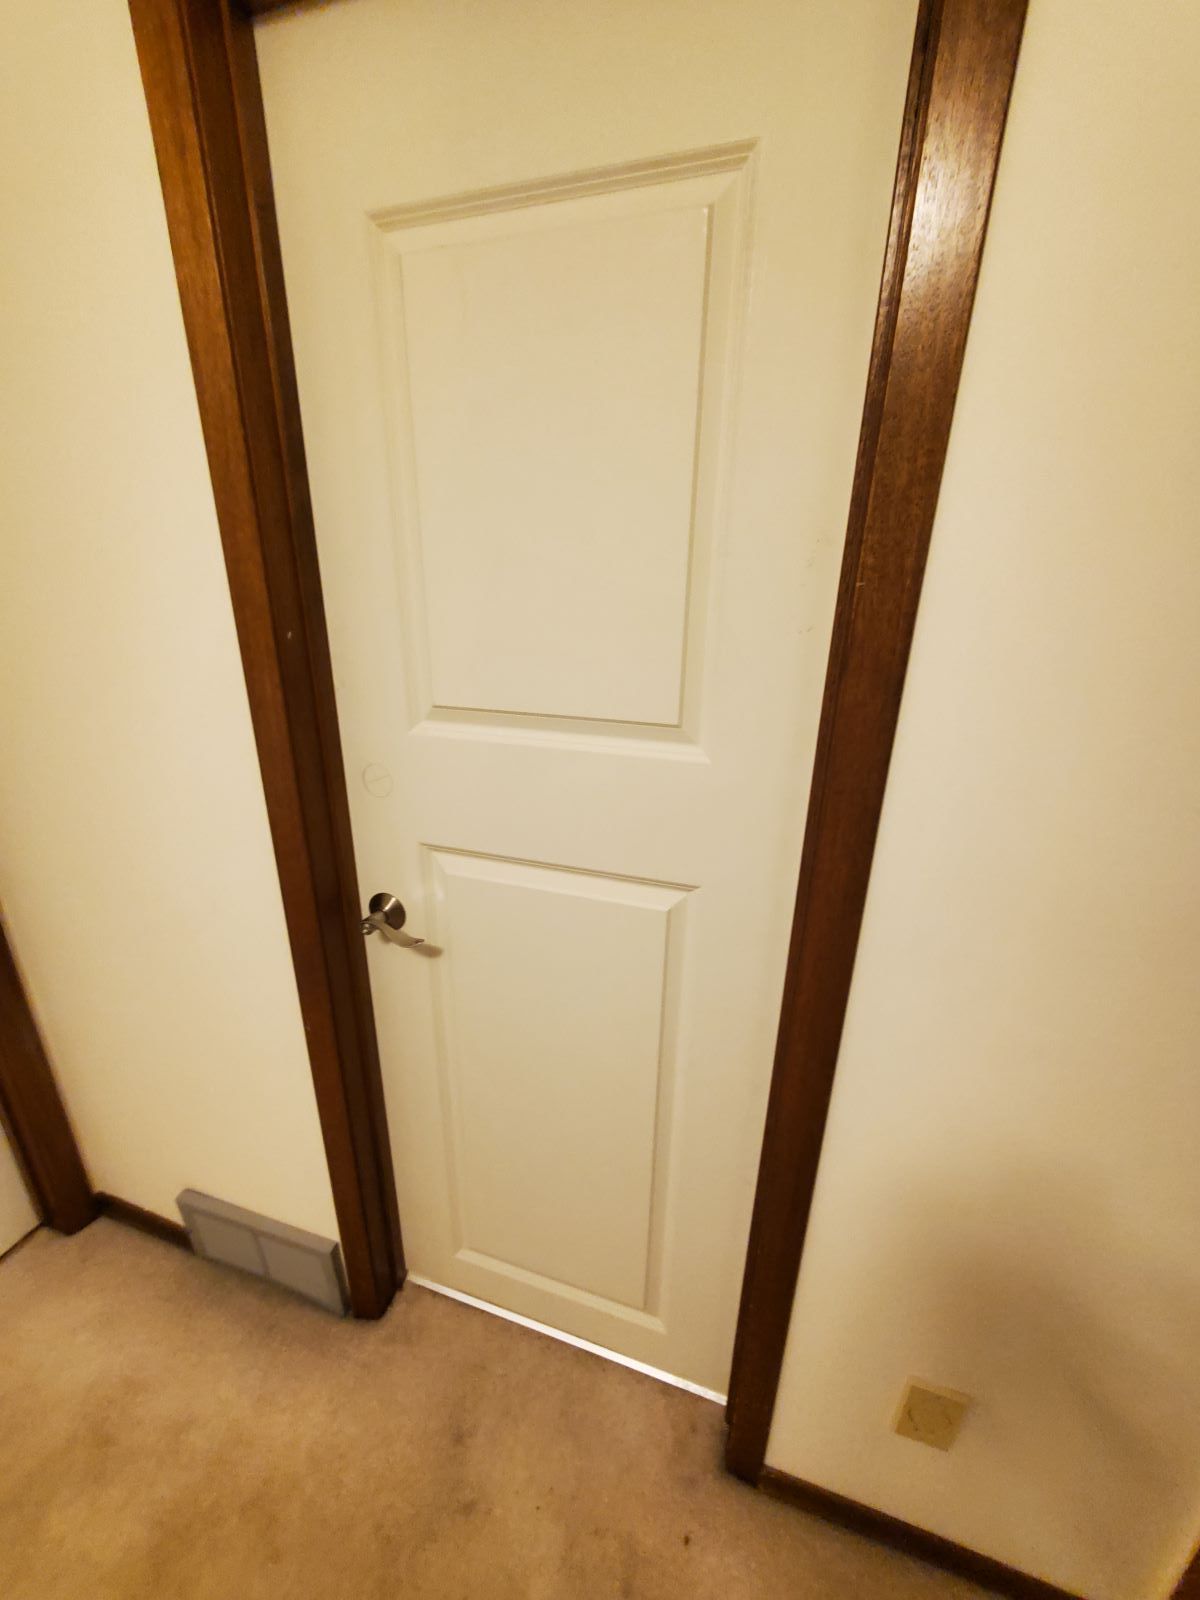
Recently I started a "mental health and make the wife happy" project, to replace 6 doors in my house. As I worked on this project and learned more lessons that I planned, it made me think a great deal about software projects and I think there are some good illustrations that come out of my experience with doors, that can teach me how to build a better software system.
I have done quite a few handyman type things and I teach myself well. Back when I had cars that needed constant work to run, I rebuilt 2 carburetors and one manual transmission, this is using manuals and some advice from the guys at auto parts store counters. Those guys were like my Dad in my teens since I didn't have one. My first carburetor didn't go well, the car started, with LOTS of pumping the gas pedal. The second one though, I could start the car without touching the gas. That is a big achievement for a carburetor car.
As the project progress, I learned new skills and also realized that I need better planning. It is easy to belittle a task as being easy. It is more honest to respect the task and slow down to think about the steps in detail.
This story is all about how details matter, which is why this article will be very detailed.
What if the material, that is the door, is different from one time to the next?
What if the door frame is differently matched to the door?
Each time a door is completed, lessons are learned that you try to apply to the next door, but that new method could cause new problems as well. Your planned set of steps may not be the same each time.
What struck me through all of this, was through my many years of architectural development and consulting, I have had to plan projects where I didn't know all of the pieces, I knew MANY of the steps but not all. Every one of those unknowns can have a cost. The basement door was DAYS over what was a very simple mistake, that randomly may have not happened, but it did.
For this project, the product I was really trying to create and refine was my checklist of steps for replacing a door. This was the list I started with.
- Remove the door handle and hardware.
- Take off old door, by removing the hinge on the doorframe, not the door itself. This will help remind me of the oritation of the hinges, which was a prevous mistake.
- Lay new door flat on saw horses in garage.
- Take old door into garage, lay flat on saw horses, hinges opening down so as to not get in the way.
- Line up door handle hole and latch hole between old and new door. Also align door edges as cleanly as possible. Check the entire length on all sides.
- In our case, the new doors all need to be shaved or trimed. Mark the new doors on all sides.
- The height portion of the door generally needs to be shaved with the planer. Mark with long straight edge to be precise and not tilt unintentially. Its a long way visually!
- The width portion can be larger on some doors, as much as 3/4 of an inch. This will be cut with the saw, using the high tooth count (and nearly new) blade for a clean cut. A new blade is important for this kind of long cut on a door.
- Hope and pray, undefined tasks from here.
The Project Begins
My house is old, 1985 ish. I knew nothing would fit quite right and I was correct. That knowledge wasn't that helpful though except on an emotional level. The new doors needed their width shaved by about 5mm. The height that needed to be removed depending on the flooring and some other chaotic universal metric of fun. One door needed nearly a full inch, 2.54cm cut. You can't do that though because interior doors that are hollow only have about 3/4 inch of wood around the frame. Some off the top, some off the bottom. I started by purchasing 6 unfinished/primed doors and managed to fit them in my SUV.
Door 1, the upstairs bathroom.
Steps (made up as I went along)
Trim the door: This door had the biggest height difference vs the doorway. I took the old door down, removed its hinges and matched the old and new up on the saw horses. This is where I had to stop. I had purchased a power planer, but it couldn't' reasonably take off that much wood. I had a hand saw, but how do I cut a straight line?
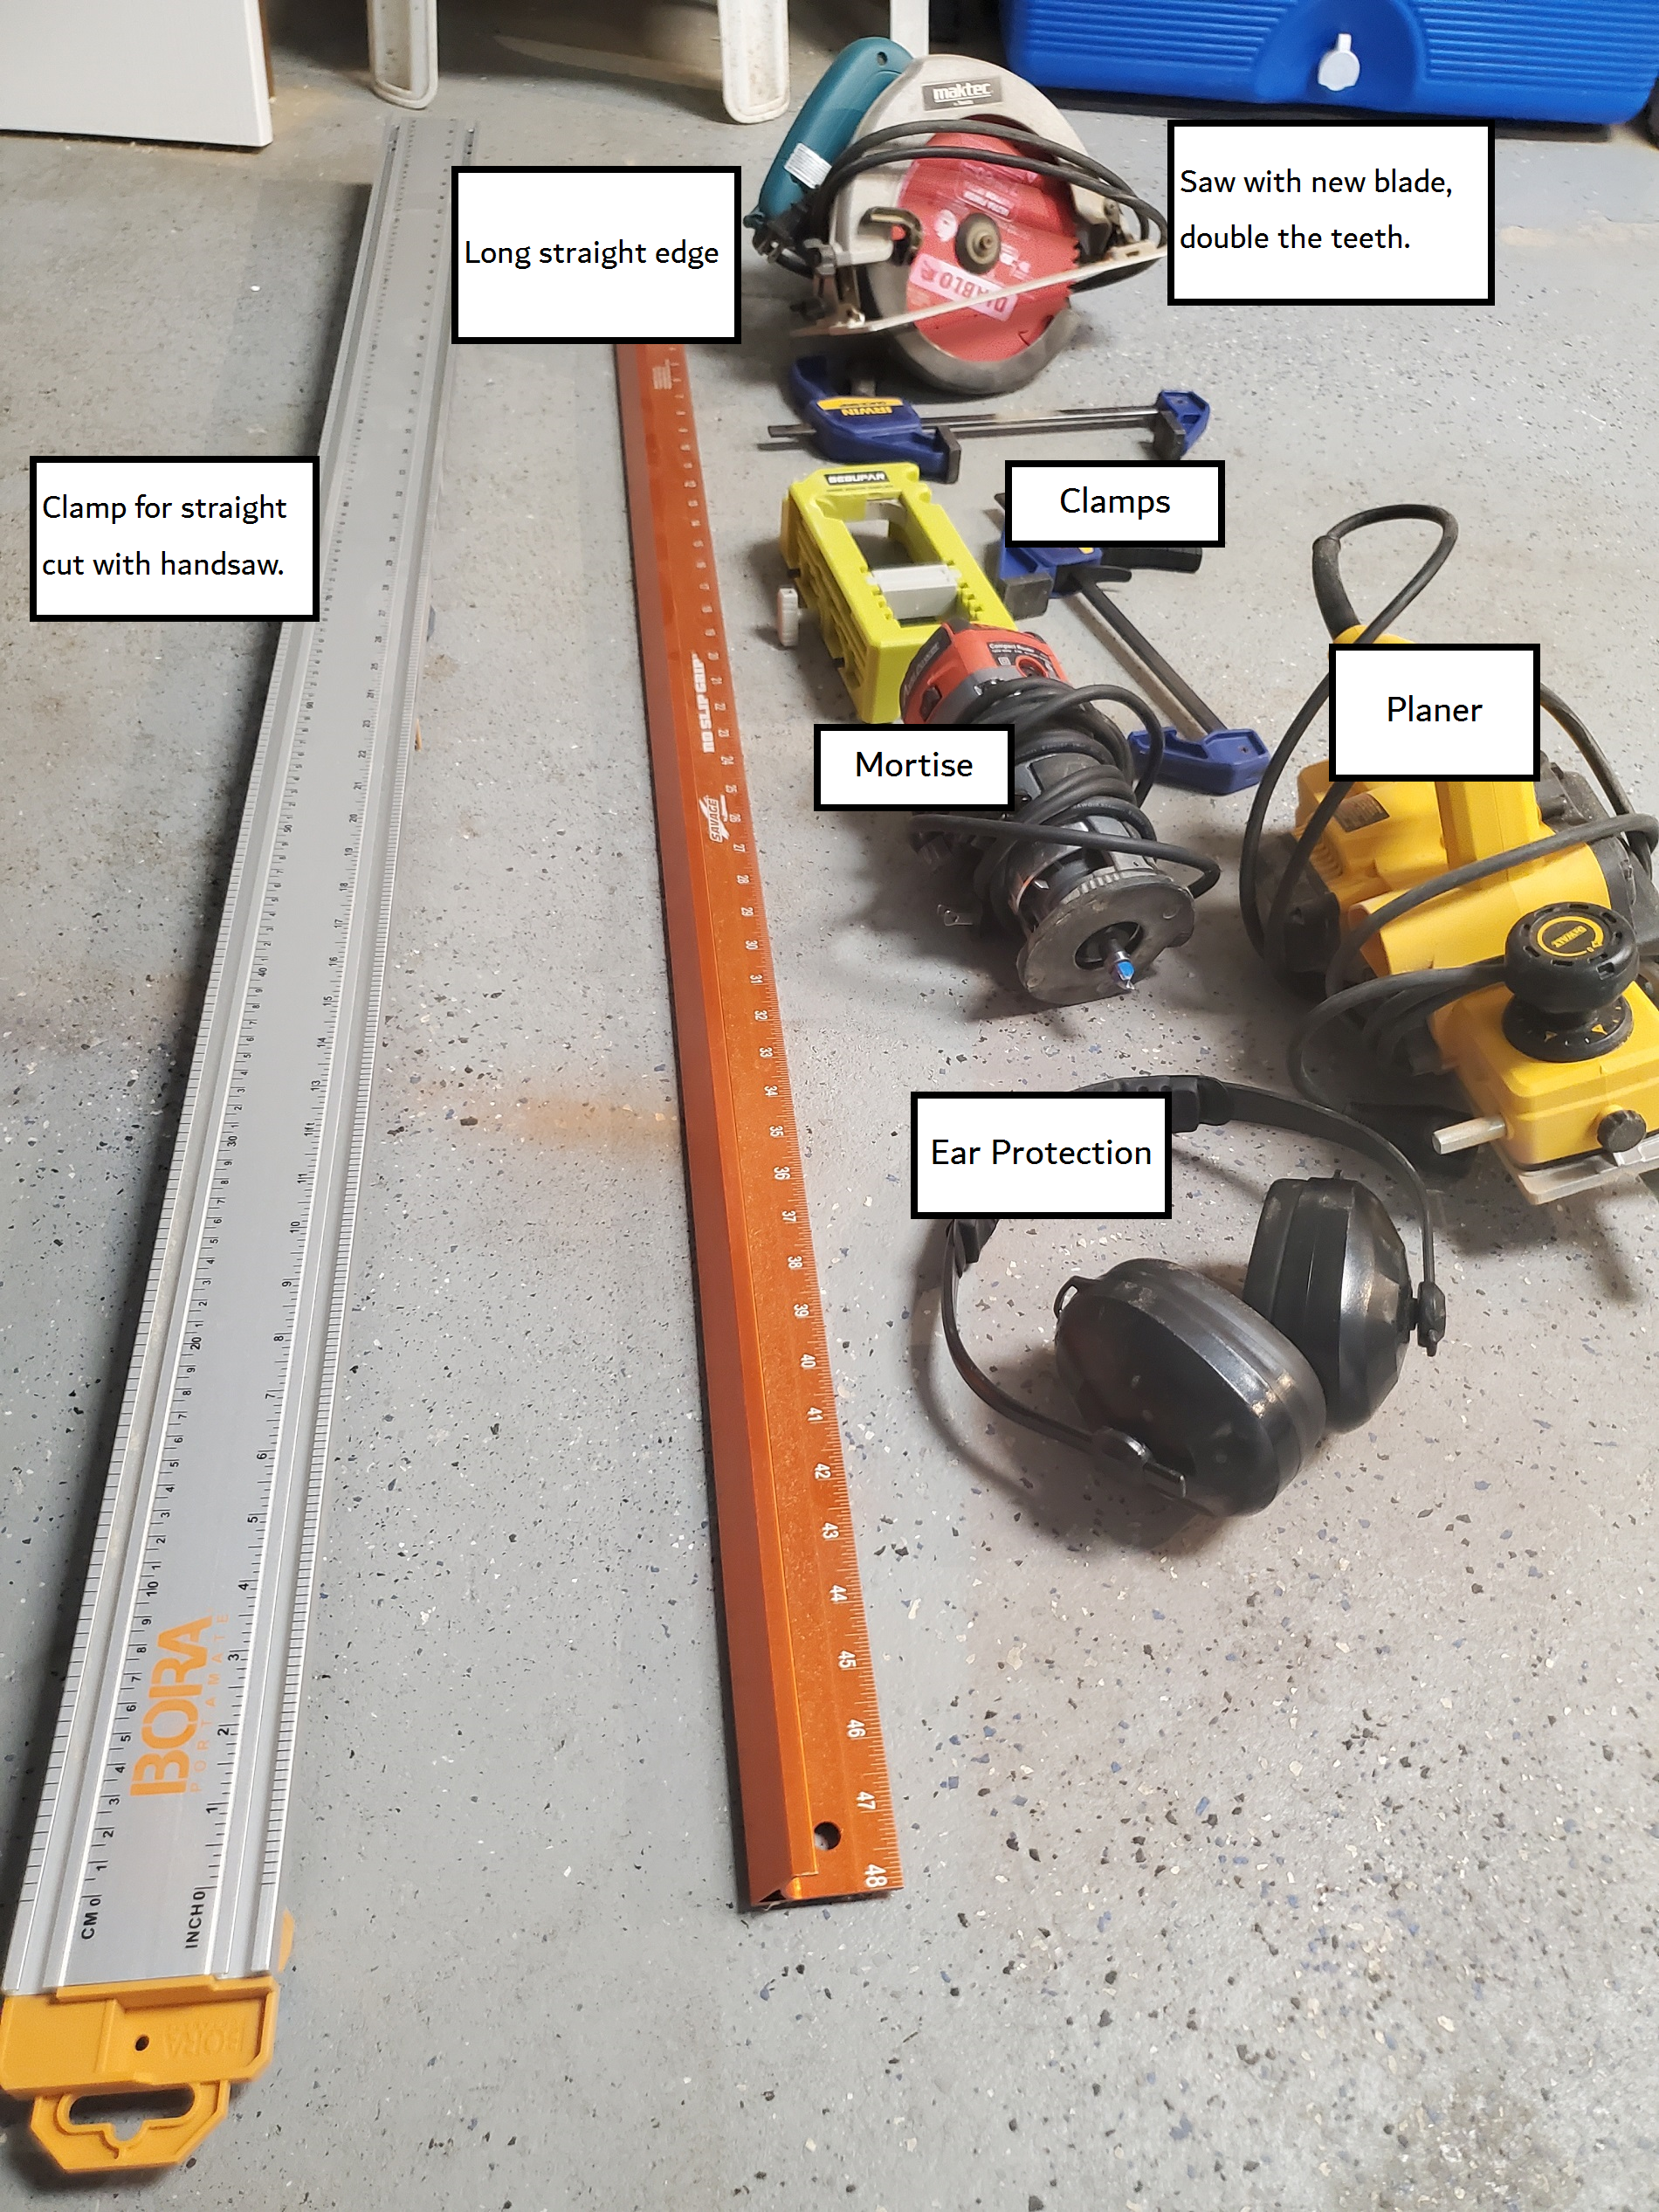
Each item is the result of a lesson.
I needed a better saw blade to avoid ripping the door up, so double the teeth and brand new. I needed the planer to take off smaller amounts of wood than the saw. The mortise, didn't come until after door one. That was my first lesson.
The mortise power tool came, when I started trying to chisel out the hinge area, they call that Mortising. I went too deep, then I tried to fix it with oversized playing cards. Yes I was on a mission, I wasn't going to let logic or lack of proper tools get in my way!!!
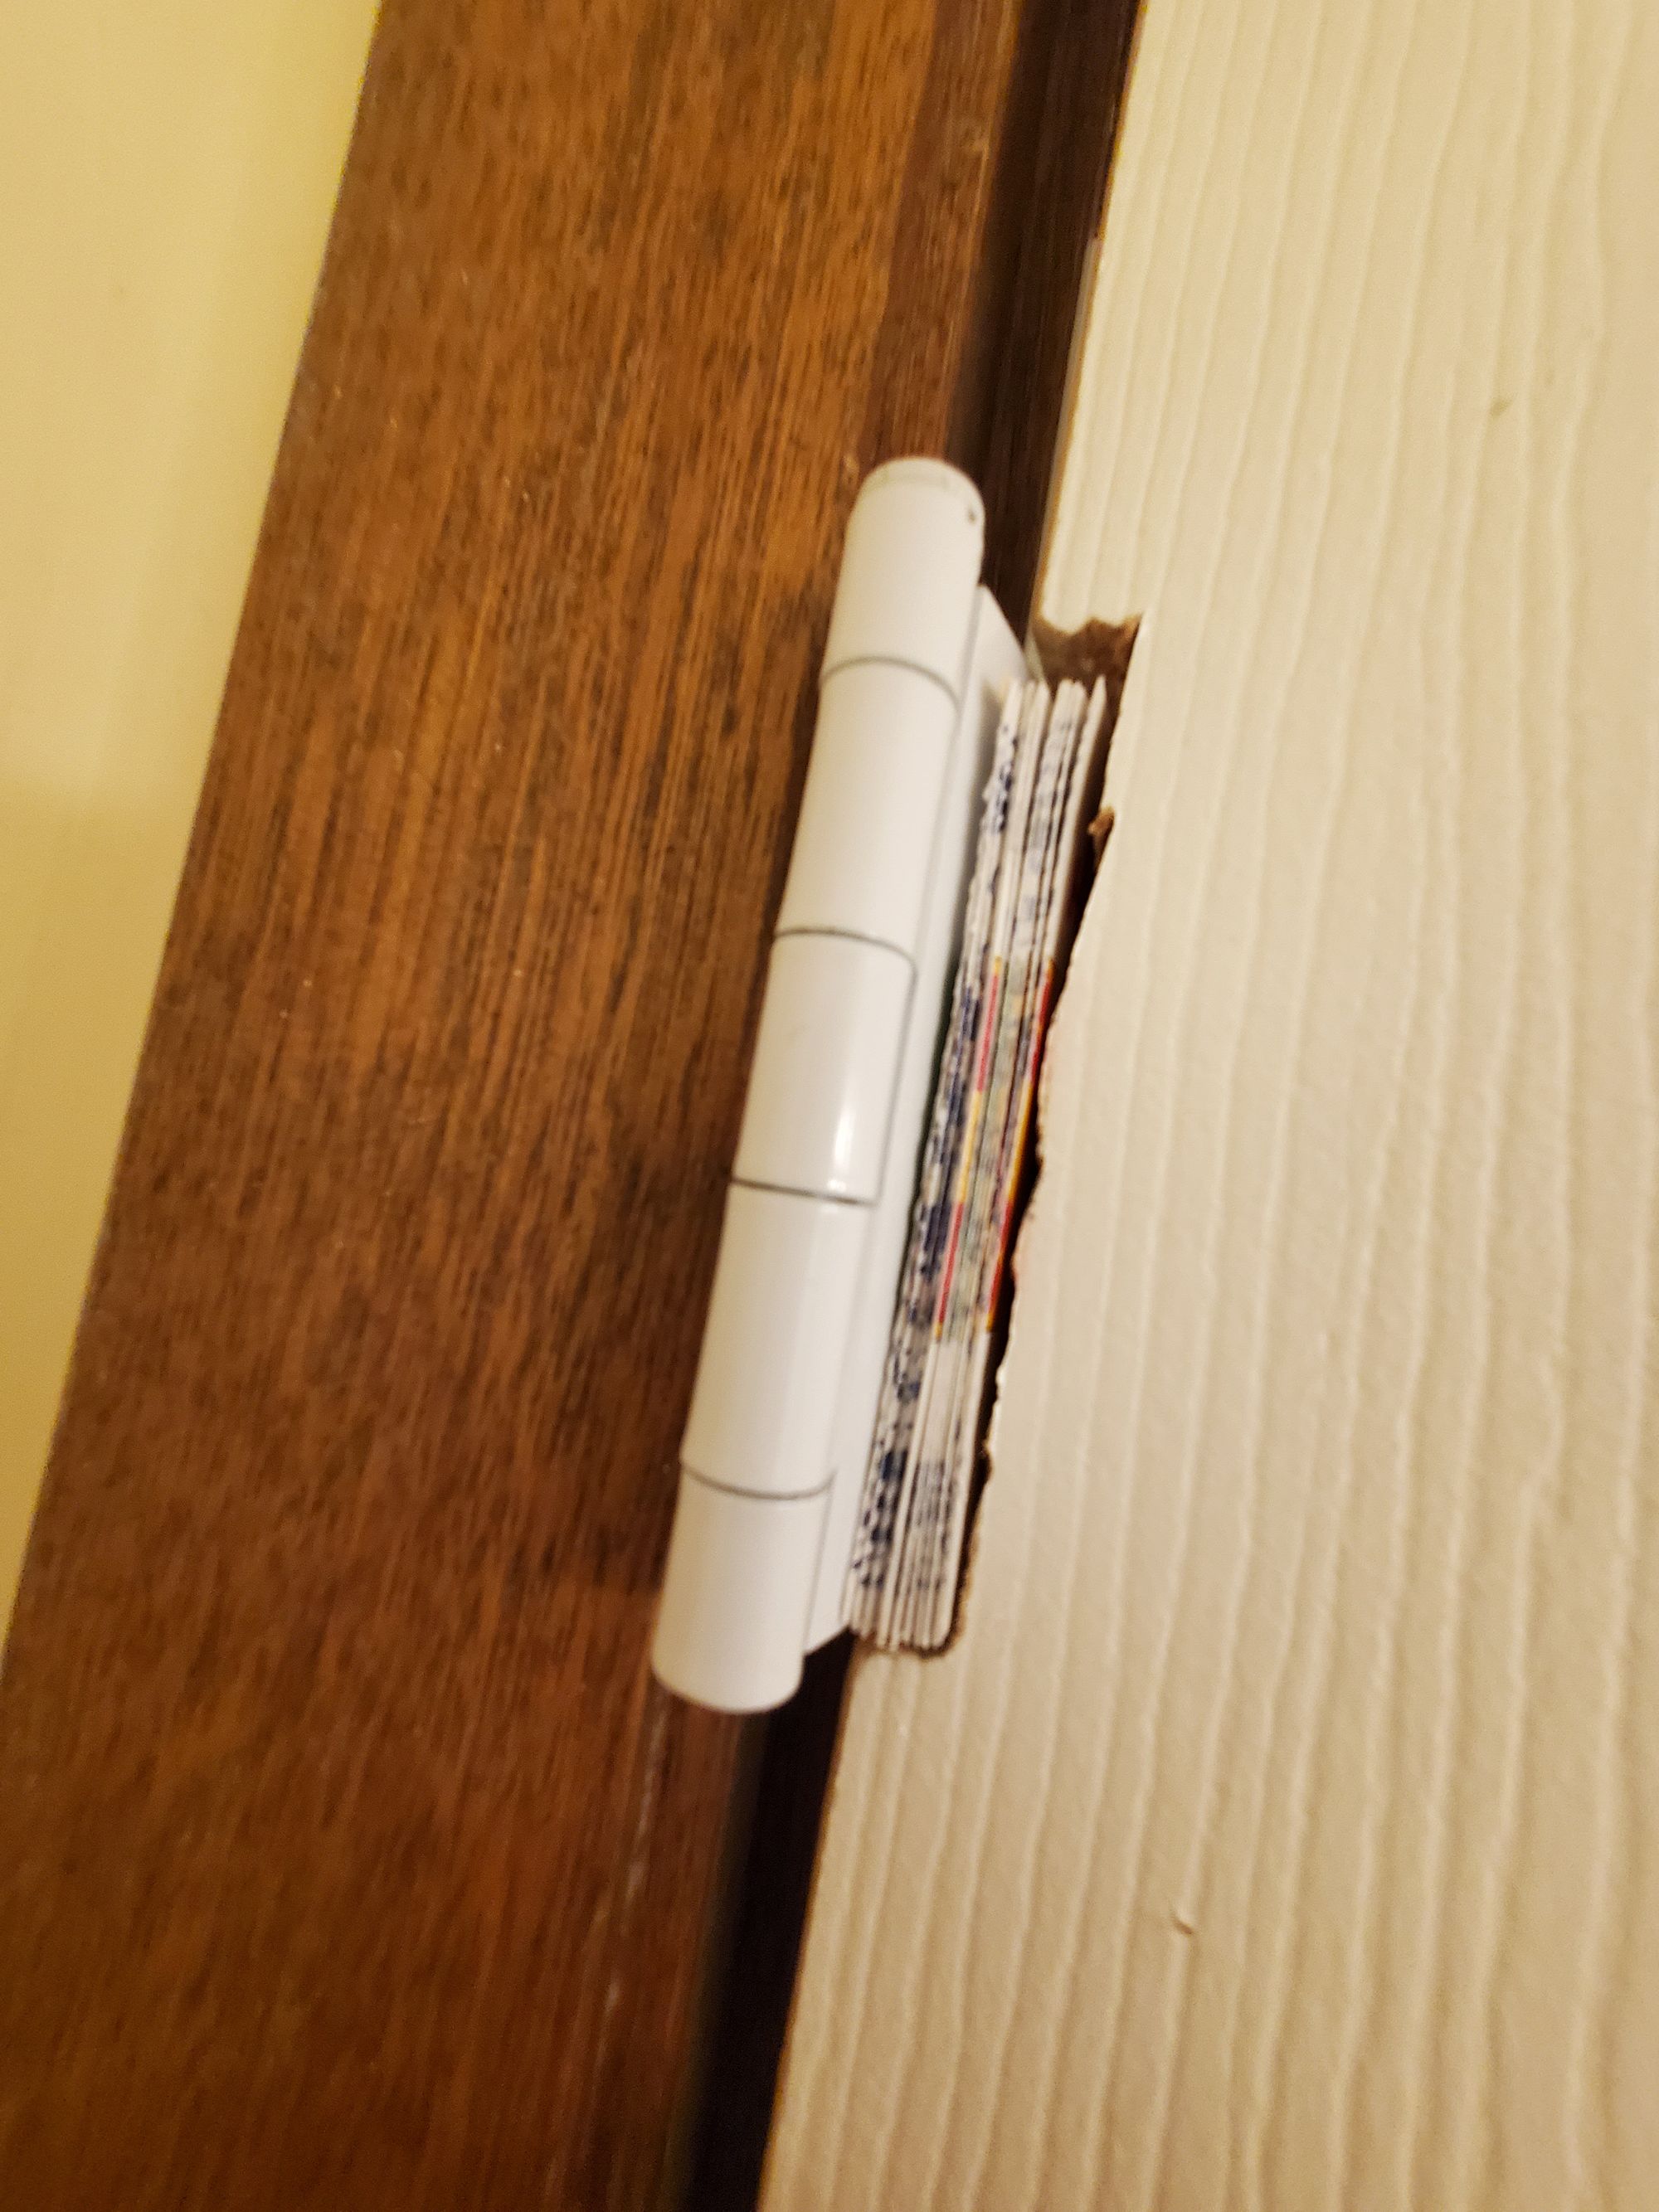
So that kind of worked and I did manage to make the new door match the old door exactly. Except...
- I cut too much off the bottom, removing all of the framing wood. So I glued pieces back in to fill in the empty space. That would seal it up well for moisture so I felt brilliant!
- All of the messing around with the hinges also led to my overtightening them and digging deeper in the door was because I couldn't close the door and I blamed the hinges, not the correct reason, that my hand chiseled mortises were not level!! Also note the jagged marks from my manually chopping out the mortise.
- That led to using longer screws because the deeper mortise made the old screws nearly useless.
- And the final killer: I mounted the new door's hinges a little bit low, so the door couldn't close over the high rug we had in that bathroom. The rest was not good, but this was the really fatal error.
Lessons Upstairs Bathroom:
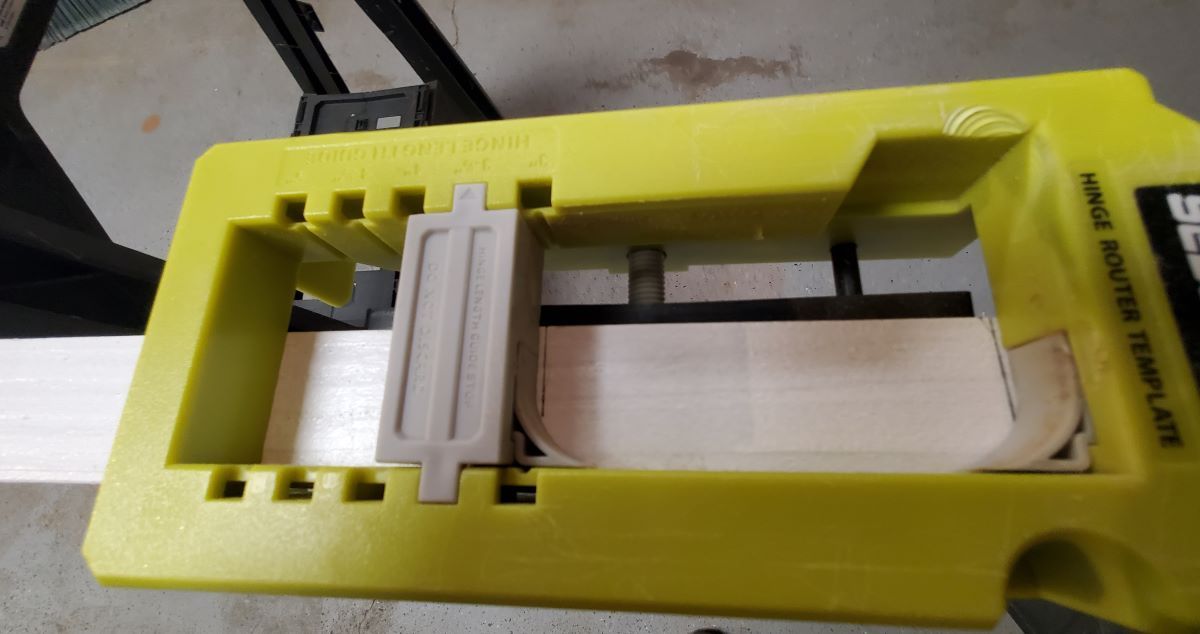
- Get a mortise tool and a hinge template (that green thing above the mortise in the picture)
- Door measurements are a lot more precise than you(I) would think, in every dimension.
- Maybe craftsmen from the days of wandering barks can mortise by hand, but I need more help in the form of tools.
Lessons (Basement Door)
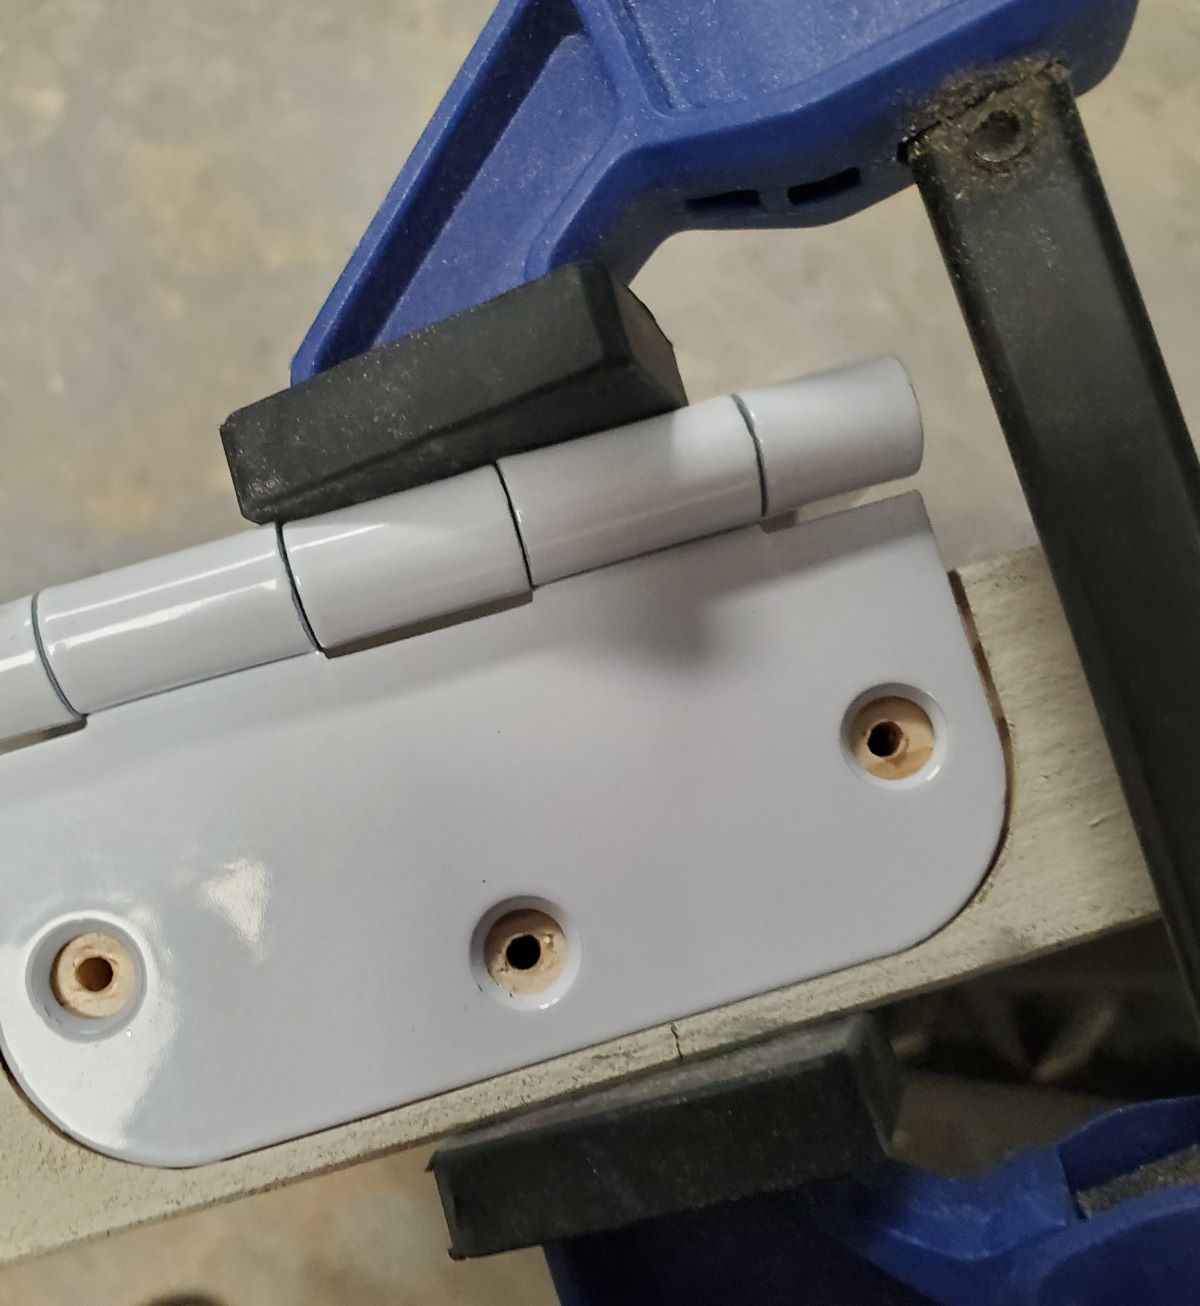
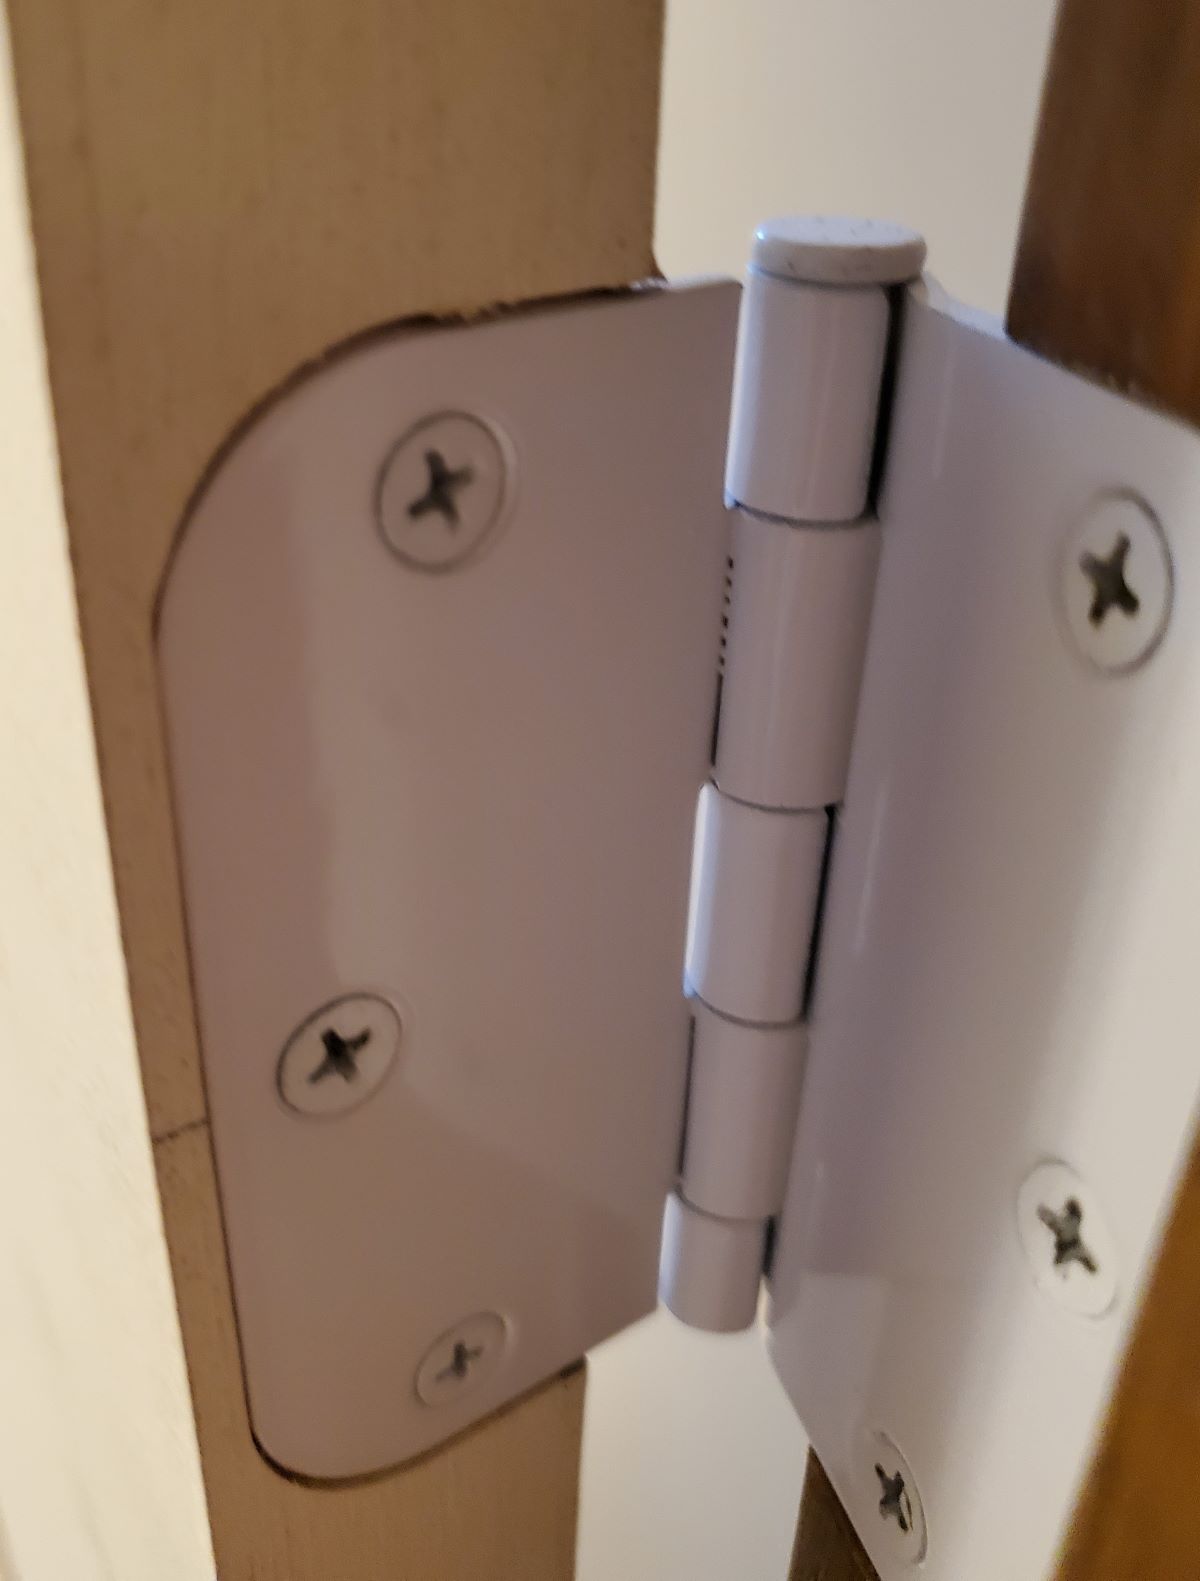
This is the door with the hinge pictured at the top of this article. It was the second door I did. The mortise's were perfectly done with my new template and mortise power tool. The door was cut perfectly, it just needed some slight sanding on one end because of the frame being uneven. Easy enough.
I attached the door to the frame. And I couldn't close the door! Not by just a little bit either, the door stopped at about 30 degrees! I spent days trying to figure out what happened. The result only came after I took the door off and checked all of the hinges.
Early on, I mounted doors by removing the center pins, separating the hinge pieces. As a result I had a new hinge that had been separated and saw no reason not to reuse it. But the hinge had handedness, that is, if you, flipped the hinge pieces around in putting them together, they would look fine, but the hinge wouldn't fully close. Replacing the hinge with a new one, fixed the issue.
Lessons (Aubrie's door)
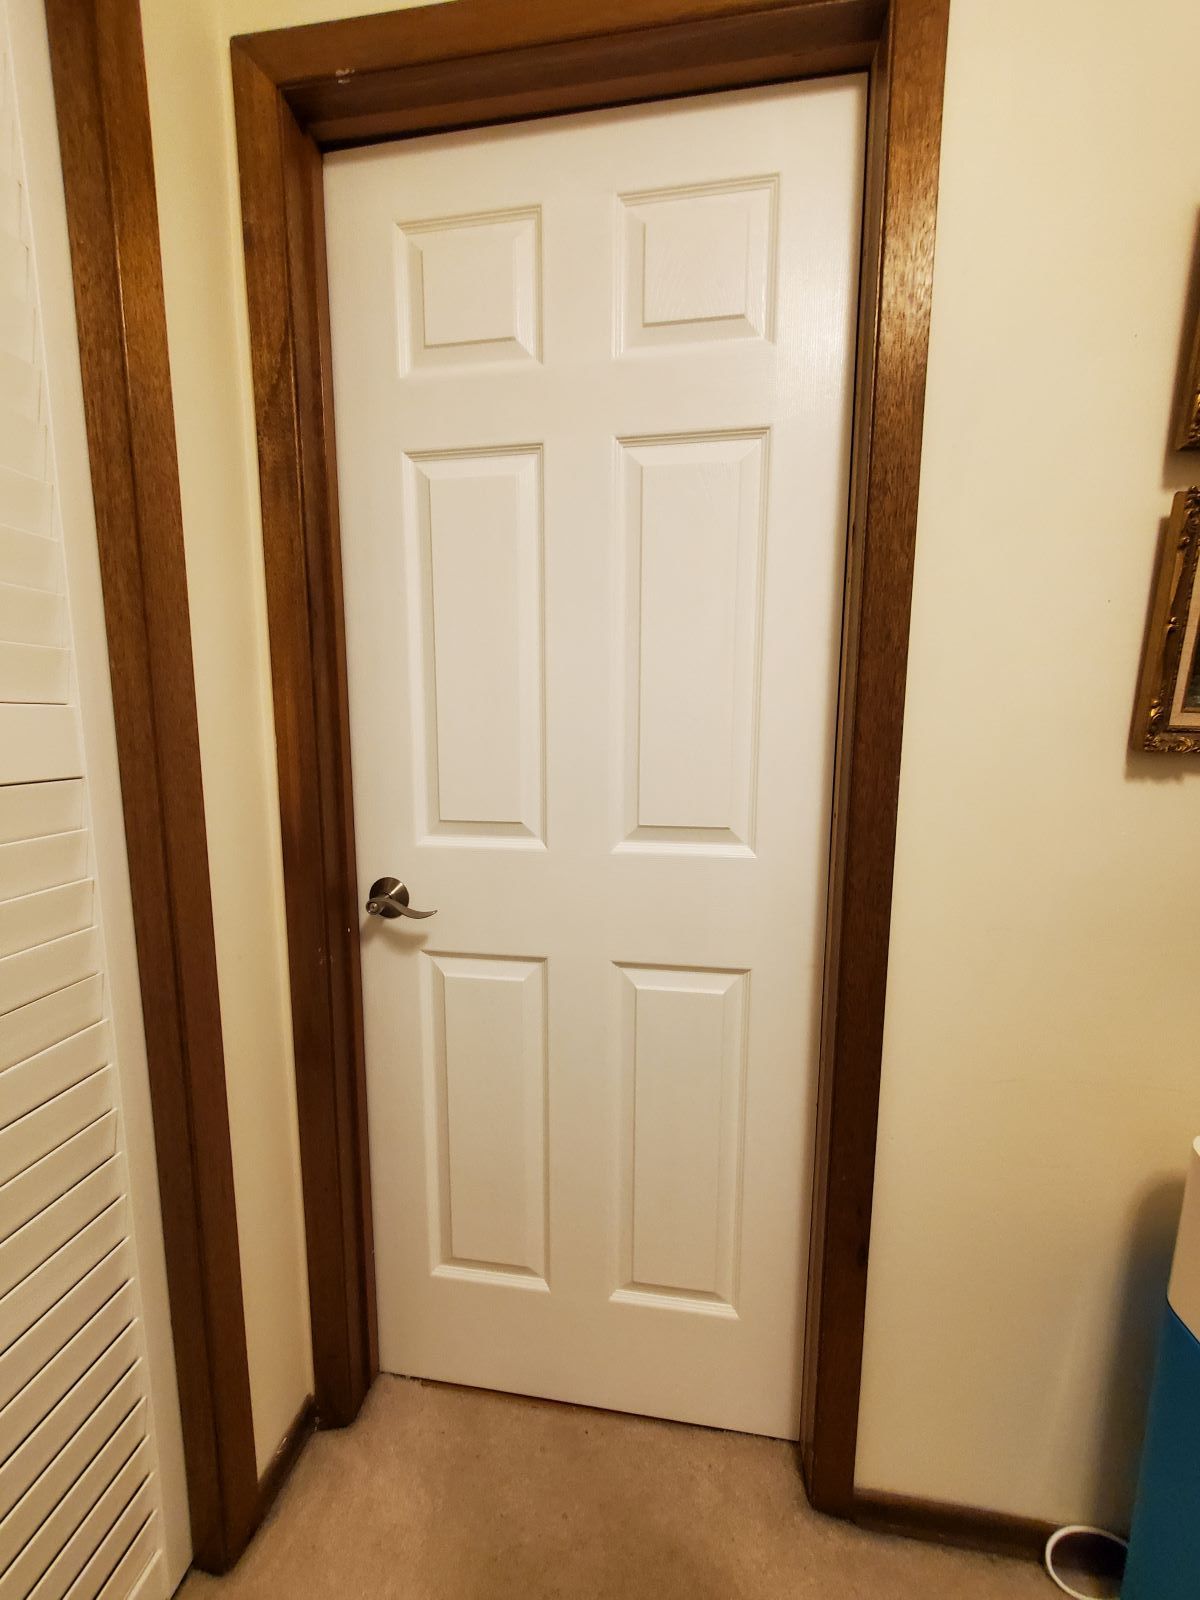
Screws attaching the hinges can move the hinge around if they are not precisely center, or at least pushing the hinge inwards against the mortise wall on the side. Pushing the hinge out, by even a couple of mm can be an issue.
Lessons (bathroom downstairs door)
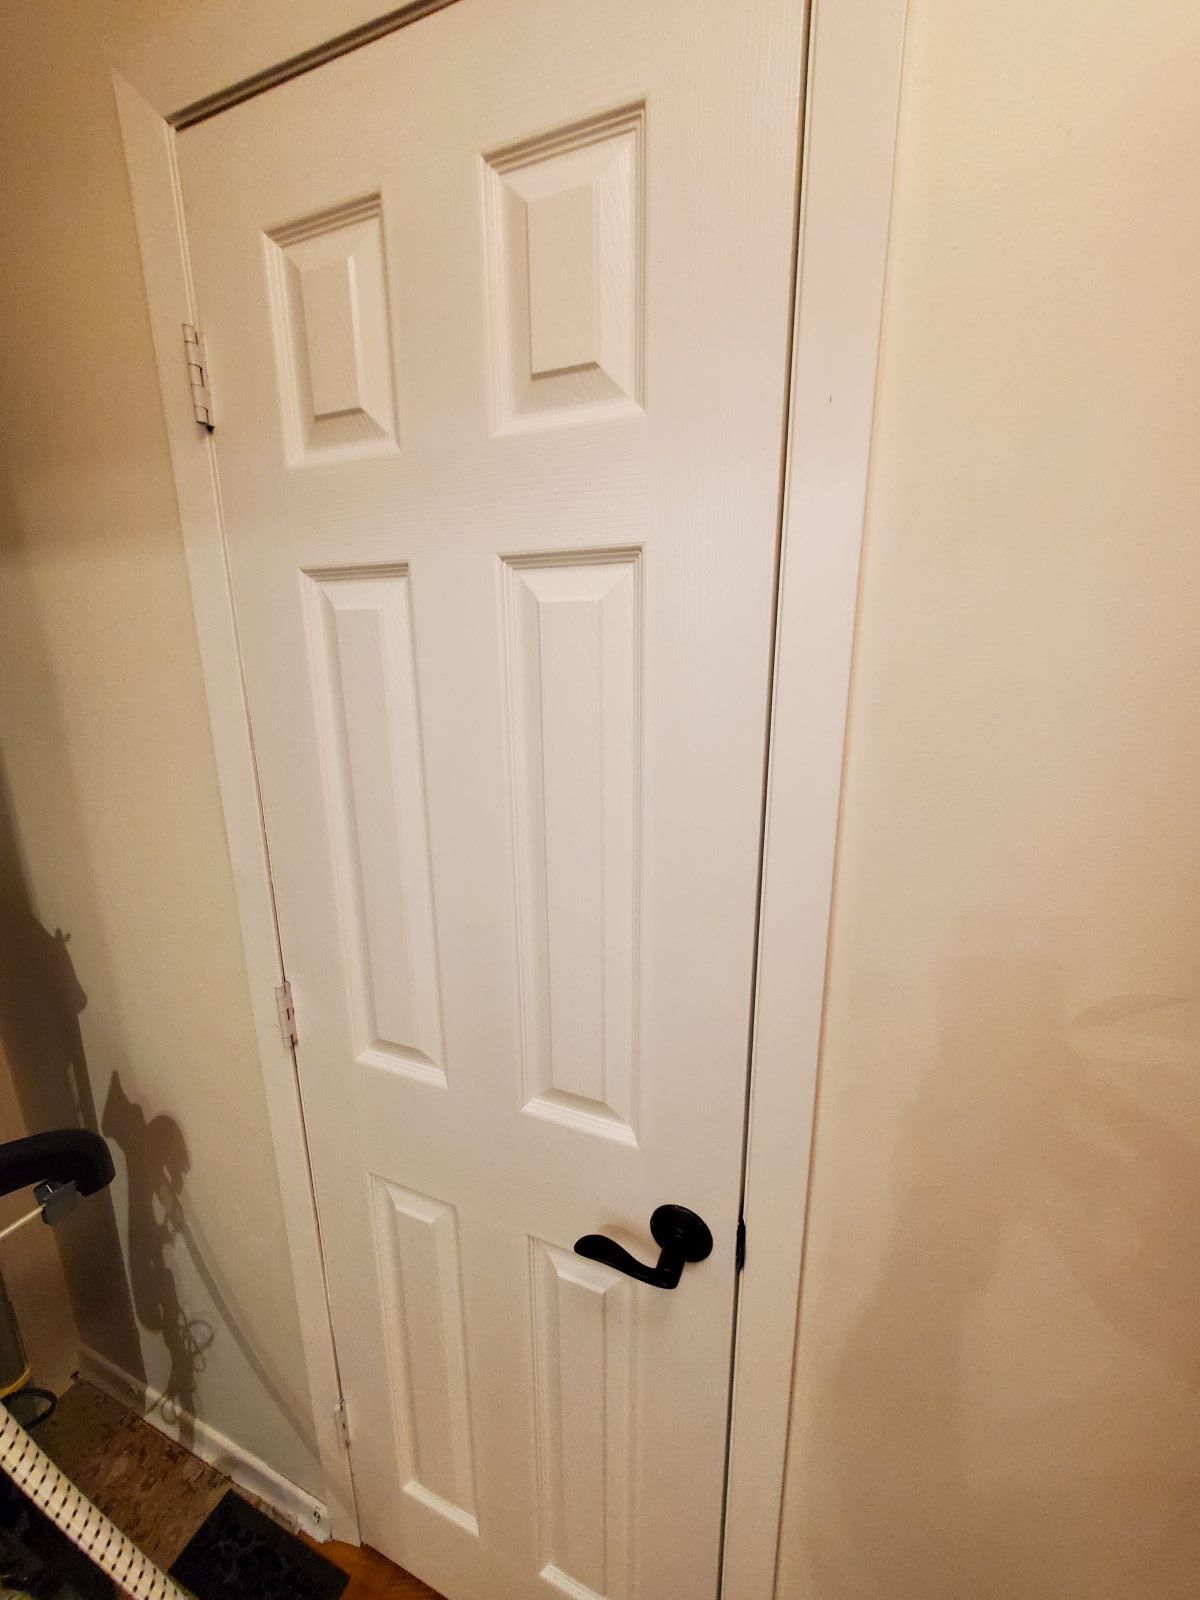
Handedness is easy to mess up, as with the hinge at the beginning. I had to mortise the door again because I flipped the door the wrong way.
Lessons (Alicia's door)
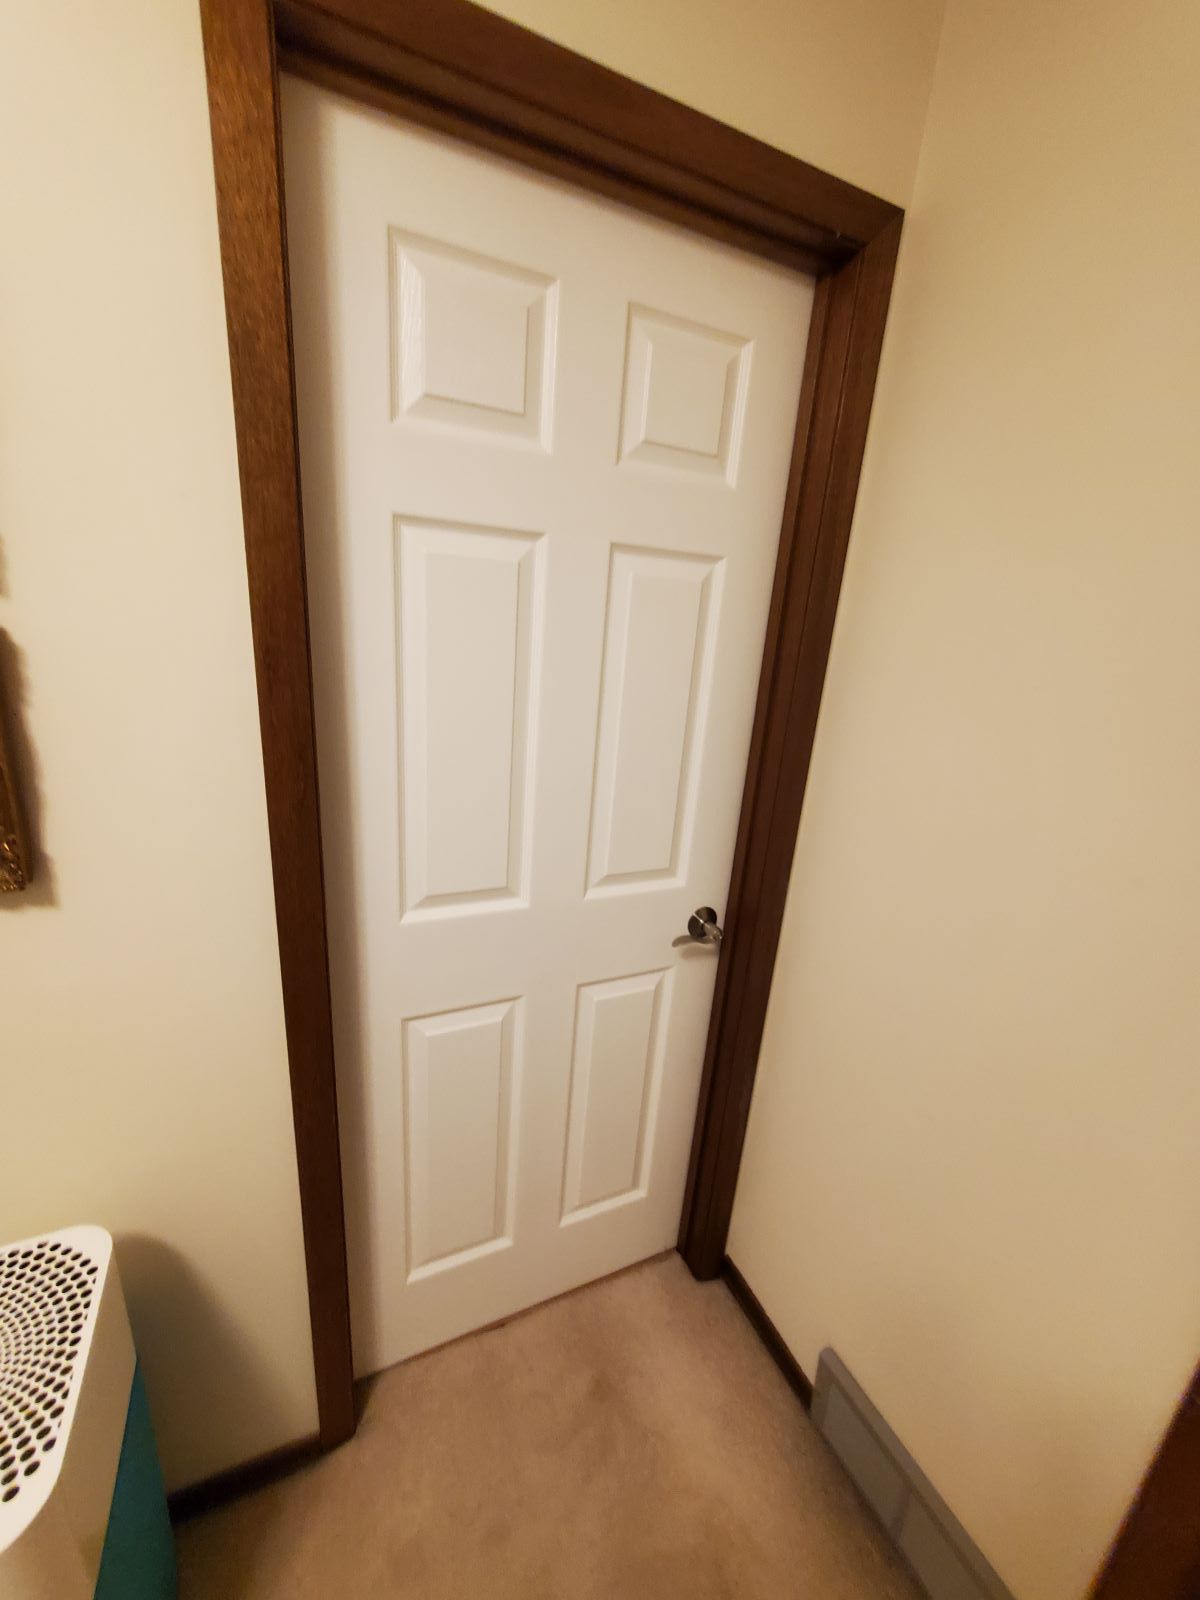
The door can be fine in all dimensions, but not quite fit the frame trim. So it is easier to take the trim off and move it a few mm vs trying to adjust the door position.
Lessons (master bedroom door)
- Yes, once again, that 1/16 of an inch can matter, the top of door was rubbing on the frame, so I had to take it all off and plain that again.
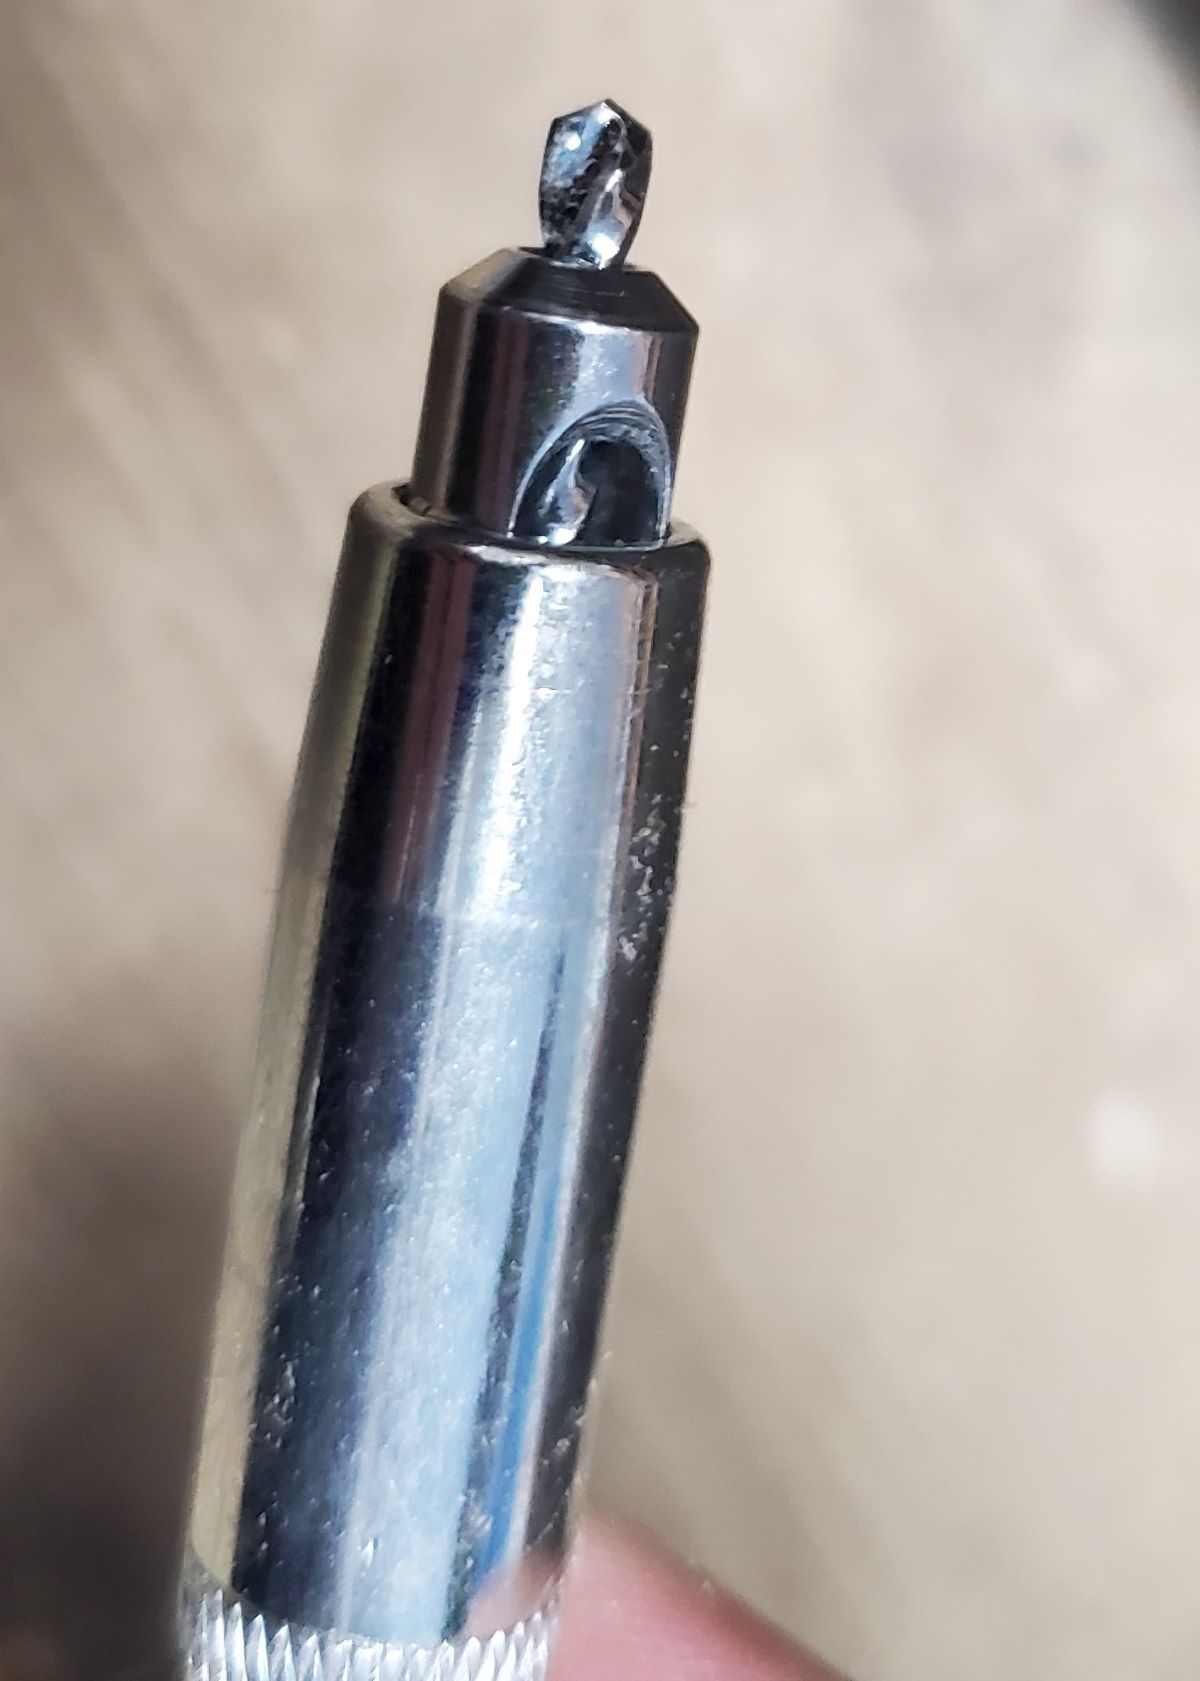
- Self centering bits are awesome! The idea of these is to make sure the screw is exactly in the center of a hole, so they are flat and not moving the hinge or door latch plate around. But in practice, they don't drill deep enough, door wood can be insanely variable, meaning a screw that you start with a 1cm hole can go SIDEWAYS all of a sudden, if you don't drill a full pilot hole.
Lessons, Upstairs bathroom door, TAKE 2. (The final Exam!)
- Bought a new door. Was going along well when as I was trimming the bottom off with the saw, the saw just stopped! It didn't hit metal, it didn't make slow progress, just nothing. I expect there was a glob of epoxy that is pretty much like Vibranium. So I was done with that door.
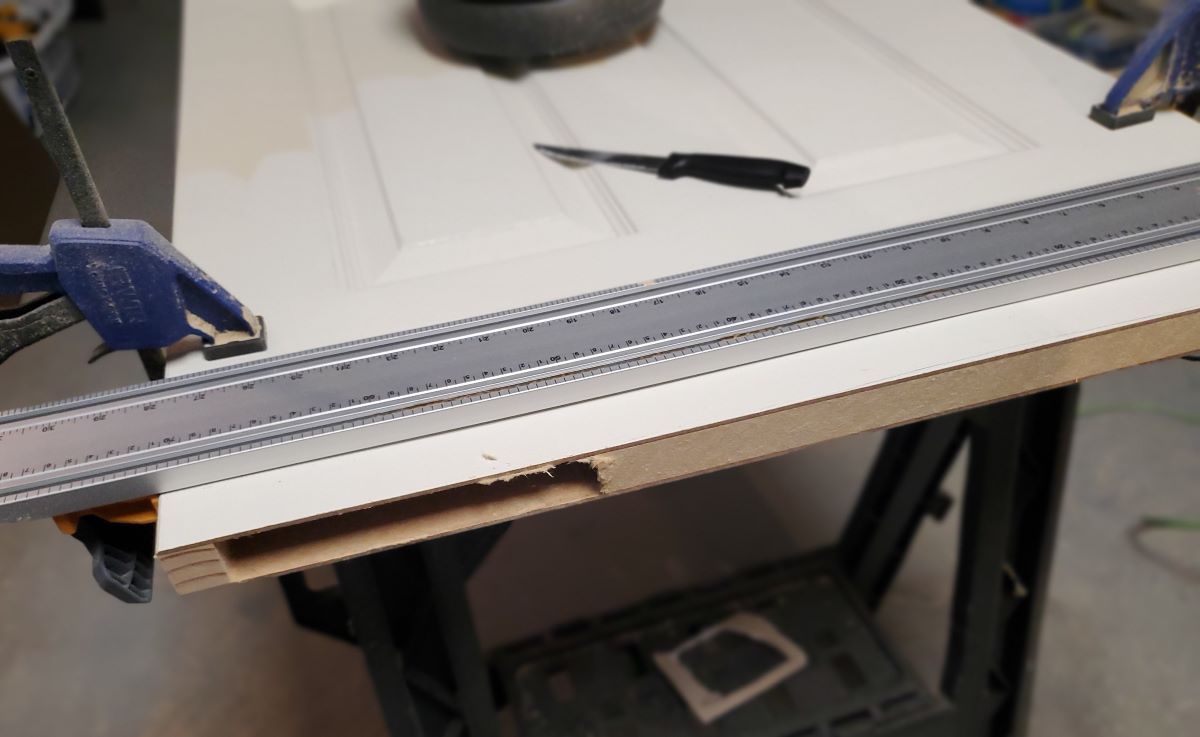
2. I bought a new, BLANK door. Meaning it had no pre-drilled holes for the door handle or latch. That made it possible to take just a bit of wood off the top and bottom and not risk removing too much like in the picture above. This turned out to be a good path.
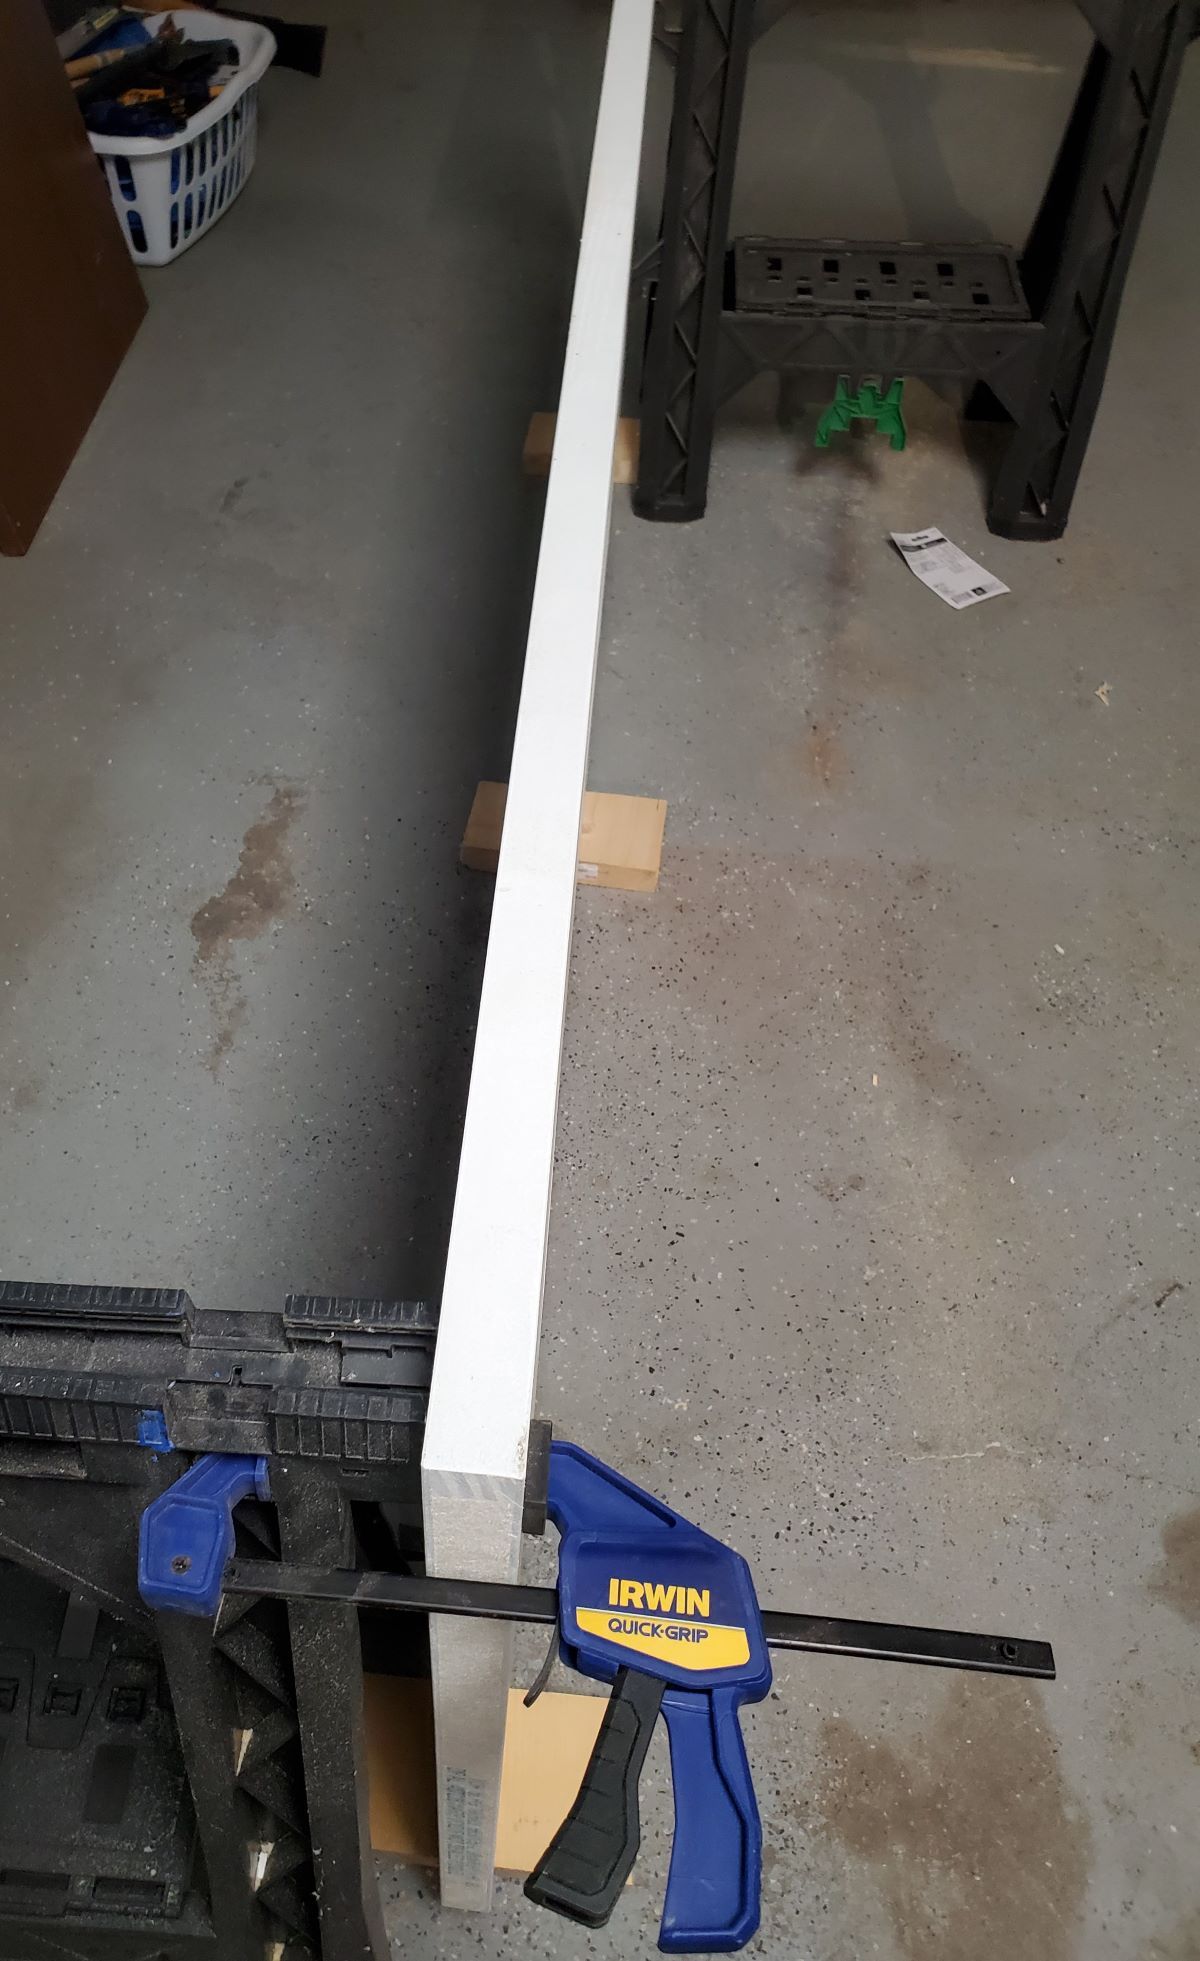
3. You can use a solid bit to drill the door latch hole, but don't recommend it :)
I got lucky. Also 1 3/8 vs 1 3/4 is a long way in door land when drilling the handle hole. I got it right though.
4. Mostly this was a full win. Reminder, don't be lazy regarding self centering tap holes. When in doubt, the screws will pretty much always go sideways, just assume that will happen!! :)
Summary
As I progressed through my doors, I started to think about how the thought process and mental challenges are very similar for all kinds of complex projects. When that project is building a product, you are packaging up a solution in a more general way that claims or at least hopes to fit a significant group of customer's needs. This doesn't just apply to software products though. Teachers making a lesson plan. Preparing for a speech at a conference. Workshop preparation. Physical products, a dog toy, a self centering drill bit, and on it goes. All of these involve choices and compromises, cost factors, and value judgements.
A few things in this door project had pretty direct mappings to software.
- The self centering drill bit - It was a great help at first. Centering screws exactly in the door hinge is important and that fact was one of my early lessons with the doors. But that tool wasn't perfect. The bit made a hole, that was well centered, but it wasn't deep enough to garrentee that my screw would go in straight. I had to then finish the hole with a drill bit to make sure the screw had no other choice. This relates to nearly every 3rd party service or code library. AWS Lambda functions can be cheaper than running a server full time, but it takes time to "warm up" and that might affect your application in ways you can't afford. There are addional work arounds for that which require more work, like fully drilling the pilot hole. A vendor has great support for multi user accounts, but doesn't suport the authentication methods you want.
- Expectations and in your head calculations - Even after experence with 3 doors, I still let myself believe that a door being 1/8 of an inch off in width vs the old door, would be ok. With software, there is always a concern with over engineering things. But if you know you are cutting the margins too thin, be brave enough to go the extra mile. For example, SQLite is amazing for prototyping, but there isn't a good way to scale it past one server and so using it on production becomes a wall that you KNOW is there. Just use an RDS on Amazon or at least a dedicated DB machine as a middle path.
- Picking the right tools can make or break your project - I could have decided I was going to just get good at chiseling the hinge mortises. I might still be working on that and have killed even more doors. The power tool mortise and template for door hinges made this really hard task that otherwise would require some degree of craftmanship, into something any idiot could do in 10 minutes or so (all 3 hinges on a door) An example in software would be using VS Code with Github Copilot vs continuing my old time tradition of using VI in screen sessions over ssh.
- The epoxy or something that stopped my saw - Sometimes you just need to abort and try something entirely new. None of my other doors had this issue, however, I really wanted to be sure my next door would work, I didn't want to spend the time on what now felt like a gamble to get the same kind of door again and hope. So I bought a door that didn't have door handle/latch holes, which meant I didn't have to cut as much wood off of one side. That worked, maybe the other path would have as well, but it was a judgement call. In software, sometimes you hit a wall with a vendor that isn't worth patching over anymore or you run into a wall with a feature you need and won't be on their agenda for another 6 months. Time to rethink and move to another or make your own.
- Process - Respect the task and slow down to think about the steps in detail. Write things down before you do them, it helps to review your own thinking and writing does that very well. Sometimes reviewing your process with another person is good, however, that has its own challenges, committee decisions often lead to the worse problems!!!
What isn't alike
Installing doors, I thought was interesting because they certainly did seem like a fairly simple task at first. However, developing a software product is actually much more complex. The key point being that the end goals for installing a door is very clear.
- The door should not rub on any side.
- The door should close easily.
- The door shouldn't pull its hinges or have other flaws that will have to be fixed in the future.
But with a software project, especially a software product the key point that explodes the complexity is, what are our goals? What features do customers really want and need? We may know some of those, but that is often based on a small sampling and some degree of guessing.
The final product, for now...
-
Remove the door by removing the hinge on the doorframe, not the door itself. This will help remind me of the oritation of the hinges, which was a prevous mistake.
-
Remove door handle and latch hardware.
-
Place new door on saw horses.
-
Make sure to mark an UP arrow on the new door.
-
Place old door on top of new door. Use blocks to make sure doors are lined up precisly to compare width/length differences.
-
If new door has door handle hardware pre-drilled, then line the height up of those for both doors. The distance from the edge may vary, don't consider that right now.
-
Mark top bottom and sides. Only one door actually needed the saw to remove a lot. But all needed shaving, our new doors were always larger than our existing doors, sometimes by only 1/16 of an inch. DO NOT ignore any measurable difference!!!
-
Shaving/Planing the top/bottom of doors, pretty much requires holding the tool sideways and using its metal guide. That requires concentration and good footing. Shave top and bottom. Make sure to wear dusk mask and ear protection. The ear protection actually makes it easier to concentrate on a good cut as well since the noise isn't as distrubing.
-
A weight from my basement weight set helped a lot to steady the door as I cut.
-
Shaving/Planing the door lengthwise requires the door be setup on blocks and clamped to the sawhorses. Then we remove the guide plate and just focus on keeping the tool straight. Footing and electrical cord placement matters a lot as well. Having to rebalence yourself in the middle of the cut can lead to dips in the door from when you wiggle the tool.
-
If the door needs more than 1/4 inch removed, then the saw is faster. Cutting a straight line is the challenge. First, the saw blade should be new or nearly new. Then it should have more teeth than the standard "ripper" that people use to just cut plywood etc. The Bora clamp is indepsensable for getting a straight cut. It requires some care in setting that up and making sure you are using the right marker on your saw! Then you need to make sure the clamp is even the whole width of the door/cut. I do that by positioning the saw along the Bora clamp in multiple places. Weight on the door here is also important you don't want any movement besides of your saw.
-
Now replace the old door on top of the new door. Position carefully with blocks. Mark the hinges. A line halfway across the door thickness, means the hinge will be placed starting on the side of those half lines.
-
Set up the door on its side with 6 clamps. Set the mortise template on each hinge, make sure not to over tighten the template screw as that can warp it.
-
Start the mortise blade in the section provided for that, then once up to speed start cutting. It is ok to go over it a couple of times, just be careful not to tilt the blade or you will have bumpy bits.
-
Clamp one hinge at a time and use the self centering drill bit to start a hole in the center of the hinge holes. Then drill the rest of the way to make a complete pilot hole. That is at least as long as the screw going in the hinge.
-
Put the screws in the hinges, again, make sure you know which way is up on the door!!
-
Hanging the door is a little harder this way, but it avoids having to bang the crap out of the hinges which do not come apart that easily (these new ones don't)
-
This is where it is good to have lots of books and magazines. Find the best one to raise the door up enough to make getting the hinges into the door frame the easiest. I find it is easier to drop the hinges down than to raise them up also.
-
Tighten up the hinges and now pray that the door closes easily. If it does you have won! If it doesn't it could be an issue with the door trim. A key reason for using the mortise tool and template was to prevent the door not closing because of the plane of the hinges not being a perfect right angle with the door.
-
I am still working on a procedure for adjusting the door strike plate easily. I am still making mistakes on that one.
